Introduction
Concourse.ci is another continous integration (CI) software that helps a team to keep update a shared mainline. Usually CI helps a team telling them that a branch of the developed software is broken. Some people took the idea of CI to the limit and the apply the idea of continous deployment (CD) also in their projects.
At tutorials.technology we are using concourse for both CI and CD. We wanted to show our experience on how we build and deploy our project to you.
tutorials dot technlogy is built with docpad and we used to have a very simple way to do deploys with rsync. After we started to write and scale to more people we added a CI to help us with new changes.
In this tutorial will use docpad as an example on how to use concourse, but the uses of the CI are endless.
We will use linux for this tutorial.
Concepts
Before installing and configure concourse you need to understand that you need the following:
- Tasks: Is the execution of a script in an isolated environment with dependent resources available to it. If the script exits 0, the task succeeds. Otherwise, it fails.
- Resources: Entity that can be checked for new versions, pulled down at a specific version, and/or pushed up to idempotently create new versions.
- Jobs: Action that is triggered when an event occurs (recourse change, etc).
- Build Plan: Is the steps required to do for a job.
The pipeline is when the job is configured with resources.
Runtime overview
Here we describe the runtime components of concourse. This will help on setting up and execute all the required services.
- Web UI: This service is the responsible of scheduling jobs, it also contains the API.
- TSA: Is a ssh service to manage worker registration.
- Worker: Where the job is actually executed.
Step 1: Downloading concourse.ci
As for the publish of this tutorial concourse was at the version v2.6.0 and download concourse for linux here.
The download file is a binery file ready to use. But before execute it we need to prepare the database.
Step 2: Installing postgres and assing used
First we will install postgresql and add the required user.
sudo apt-get install postgresql-9.5
sudo service postgresql start
First let's create a database for concourse
sudo su postgres
createdb concourse
Now we are ready to add the user for concourse.ci.
psql concourse
CREATE USER concourse WITH PASSWORD 'jw8s0F4';
GRANT ALL PRIVILEGES ON DATABASE concourse TO concourse;
Step 3: Starting concourse
After the database initialization we can start concourse web with:
After the database initialization it's required to generate some keys:
ssh-keygen -t rsa -f tsa_host_key -N ''
ssh-keygen -t rsa -f worker_key -N ''
ssh-keygen -t rsa -f session_signing_key -N ''
Start concourse web with:
./concourse_linux_amd64 web  \
  --basic-auth-username myuser  \
  --basic-auth-password mypass   \
  --session-signing-key session_signing_key  \
  --tsa-hoskey tsa_host_key  \
  --tsa-authorized-keys authorized_worker_keys  \
  --postgres-data-source postgres://concourse:jw8s0F4@localhost/concourse
Note: change myuser and mypass for later usage. If everything was fine you should see at the end the following message:
{"timestamp":"1486258509.731197596","source":"atc","message":"atc.listening","log_level":1,"data":{"debug":"127.0.0.1:8079","http":"0.0.0.0:8080"}}
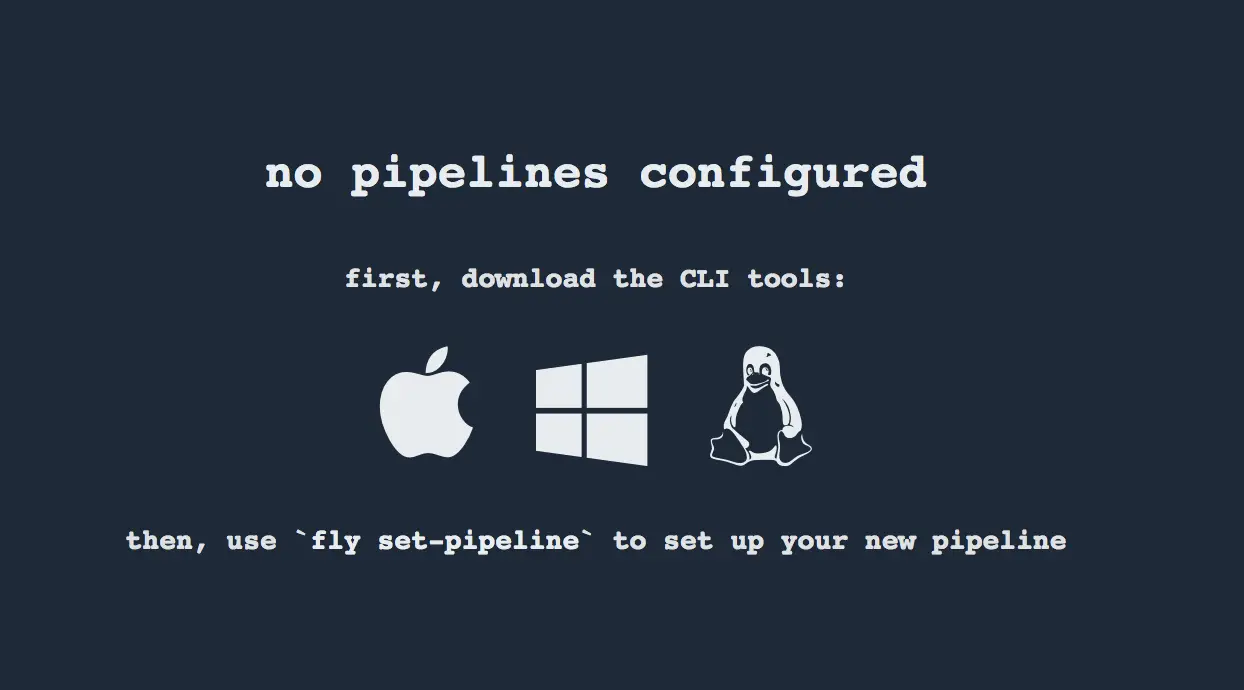
Open your browser to the server IP address on port 8080 and download the client tool. You should see the following message:
 .
.
Download the fly client tool for using it in the next steps.
Step 4: Start a worker
On the same server where you started concourse you can start a worker instance with:
sudo concourse worker \
  --work-dir /opt/concourse/worker \
  --tsa-host 127.0.0.1 \
  --tsa-public-key tsa_host_key.pub \
  --tsa-worker-private-key worker_key
worker_key and tsa_host_key.pub was generated in the before at step 3.
Note: if you have DNS issues add --garden-dns-server.
Step 4: Setup your first pipeline with git resource
At this step we are going to setup a resource for pulling the code, generate the static documents with docpad and rsync the result to the production server.
Generate a key for getting the resource and configure your git repository account to allow access to this new key.
ssh-keygen -b 2048 -t rsa -f /tmp/sshkey -q -N ""
Let's start with this yaml template to configure a test the git repository:
resources:
- name: git-tutorials-technology
  type: git
  source:
    uri: [email protected]
    branch: master
    private_key: {{private-repo-key}}

jobs:
- name: tutorialstechnology
  plan:
  - get: git-tutorialstechnology
    trigger: true
  - task: generate-static
    config:
      platform: linux
      image_resource:
        type: docker-image
        source: {repository: ubuntu}
      run:
        path: echo
        args: ["Git repo changed!"]
The resources section is were we configure the git repository to fetch. In this case we use a key authentication. The branch is a mandatory field.
On the jobs sections we specify a trigger condition on the git-tutorialstechnology resource. When the resource triggers the condition the tasks will be ejecuted. We added a dummy task inside a docker containers that just do a simple echo.
Note: You need to set your own private key and uri of your git repository. The job git-tutorialstechnology will just echo a Git repo changed! everytime a change in the repo is made.
Register the pipeline with fly command:
./fly -t tutorials login --concourse-url http://192.168.X.X:8080
./fly -t tutorials set-pipeline -p tutorials-technology -c tutorial-pipeline.yml --var "private-repo-key=$(cat /tmp/sshkey)"
The -t is for specifying the target, to see the list of target execute "./fly targets". The first command will register the target tutorials using the fly command.
The expected output should be:
pipeline created!
you can view your pipeline here: http://192.168.X.X:8080/teams/main/pipelines/tutorials-technology

the pipeline is currently paused. to unpause, either:
  - run the unpause-pipeline command
  - click play next to the pipeline in the web ui
For testing, go to the concourse url and do a git pull to your repo.
 .
.
Step 5: Configure concourse to install npm enviroment for building
Befor starting we need to understand how task will produce artifacts for the next tasks. We need to learn two new concepts:
- Inputs: Required. The expected set of inputs for the task.
- Outputs: Optional. The artifacts produced by the task.
We will create teo yaml files for each task and two bash scripts for installing npm dependencies, generate docs and rsync the result:
- .docpad.cson: Settings for docpad, this is required to execute concourse build.
- install.yml: In this task we will install all npm dependencies.
- install.sh: Will install all deps with npm.
- generate.yml: This task will generate the docpad output.
- generate.sh: Will use docpad to generate docs.
Let's install all docpad dependencies, to do this we will add an install task. Create a new file named tutorialstechnology-install.yml with: In this tutorial we created a pipeline directory with all the files related to the build.
.docpad.cson
This file is required to make concourse generate docpad output, without this concourse will hang on asking if you accept TOS. You have to use your own .docpad.cson with the tos field set to true or false. Also you have to change the name and username fields.
name: "MAC XXXXXXXCHANGEXXXXXXXX"
email: null
username: "XXXXXXXCHANGEXXXXXXXX"
subscribed: false
subscribeTryAgain: null
tos: READ
identified: true%
install.sh
#!/bin/sh
cd sources
npm install
cp pipeline/.docpad.cson ~/.docpad.cson
./node_modules/.bin/docpad generate
install.yml
---
platform: linux

image_resource:
  type: docker-image
  source: {repository: node, tag: "7.5.0"}

inputs:
- name: sources

outputs:
- name: out

run:
  path: sources/pipeline/install_and_generate.sh
Change your main yaml to:
resource_types:
- name: rsync-resource
  type: docker-image
  source:
      repository: mrsixw/concourse-rsync-resource
      tag: latest

resources:
- name: sources
  type: git
  source:
    uri: [email protected]
    branch: master
    private_key: {{private-repo-key}}
- name: production-server-deploy
  type: rsync-resource
  source:
    server: address
    base_dir: /var/www/...
    disable_version_path: true
    private_key: {{production-server-key}}

jobs:
- name: tutorialstechnology
  plan:
  - get: sources
    trigger: true
  - task: install-deps
    file: pipeline/install.yml
  - put: production-server-deploy
    params: {"sync_dir": "out", "rsync_opts": "--usermap=username:www-data"}
To update the pipeline settings you need to execute:
./fly -t tutorials set-pipeline -p tutorials-technology -c pipeline.yml --var "private-repo-key=$(cat /tmp/sshkey)" --var="production-server-key=$(cat /tmp/sshkey2)"
Remeber to push the pipeline directory and give execution permission on all .sh files. Note that you need to generate sshkey2 for the server keys.
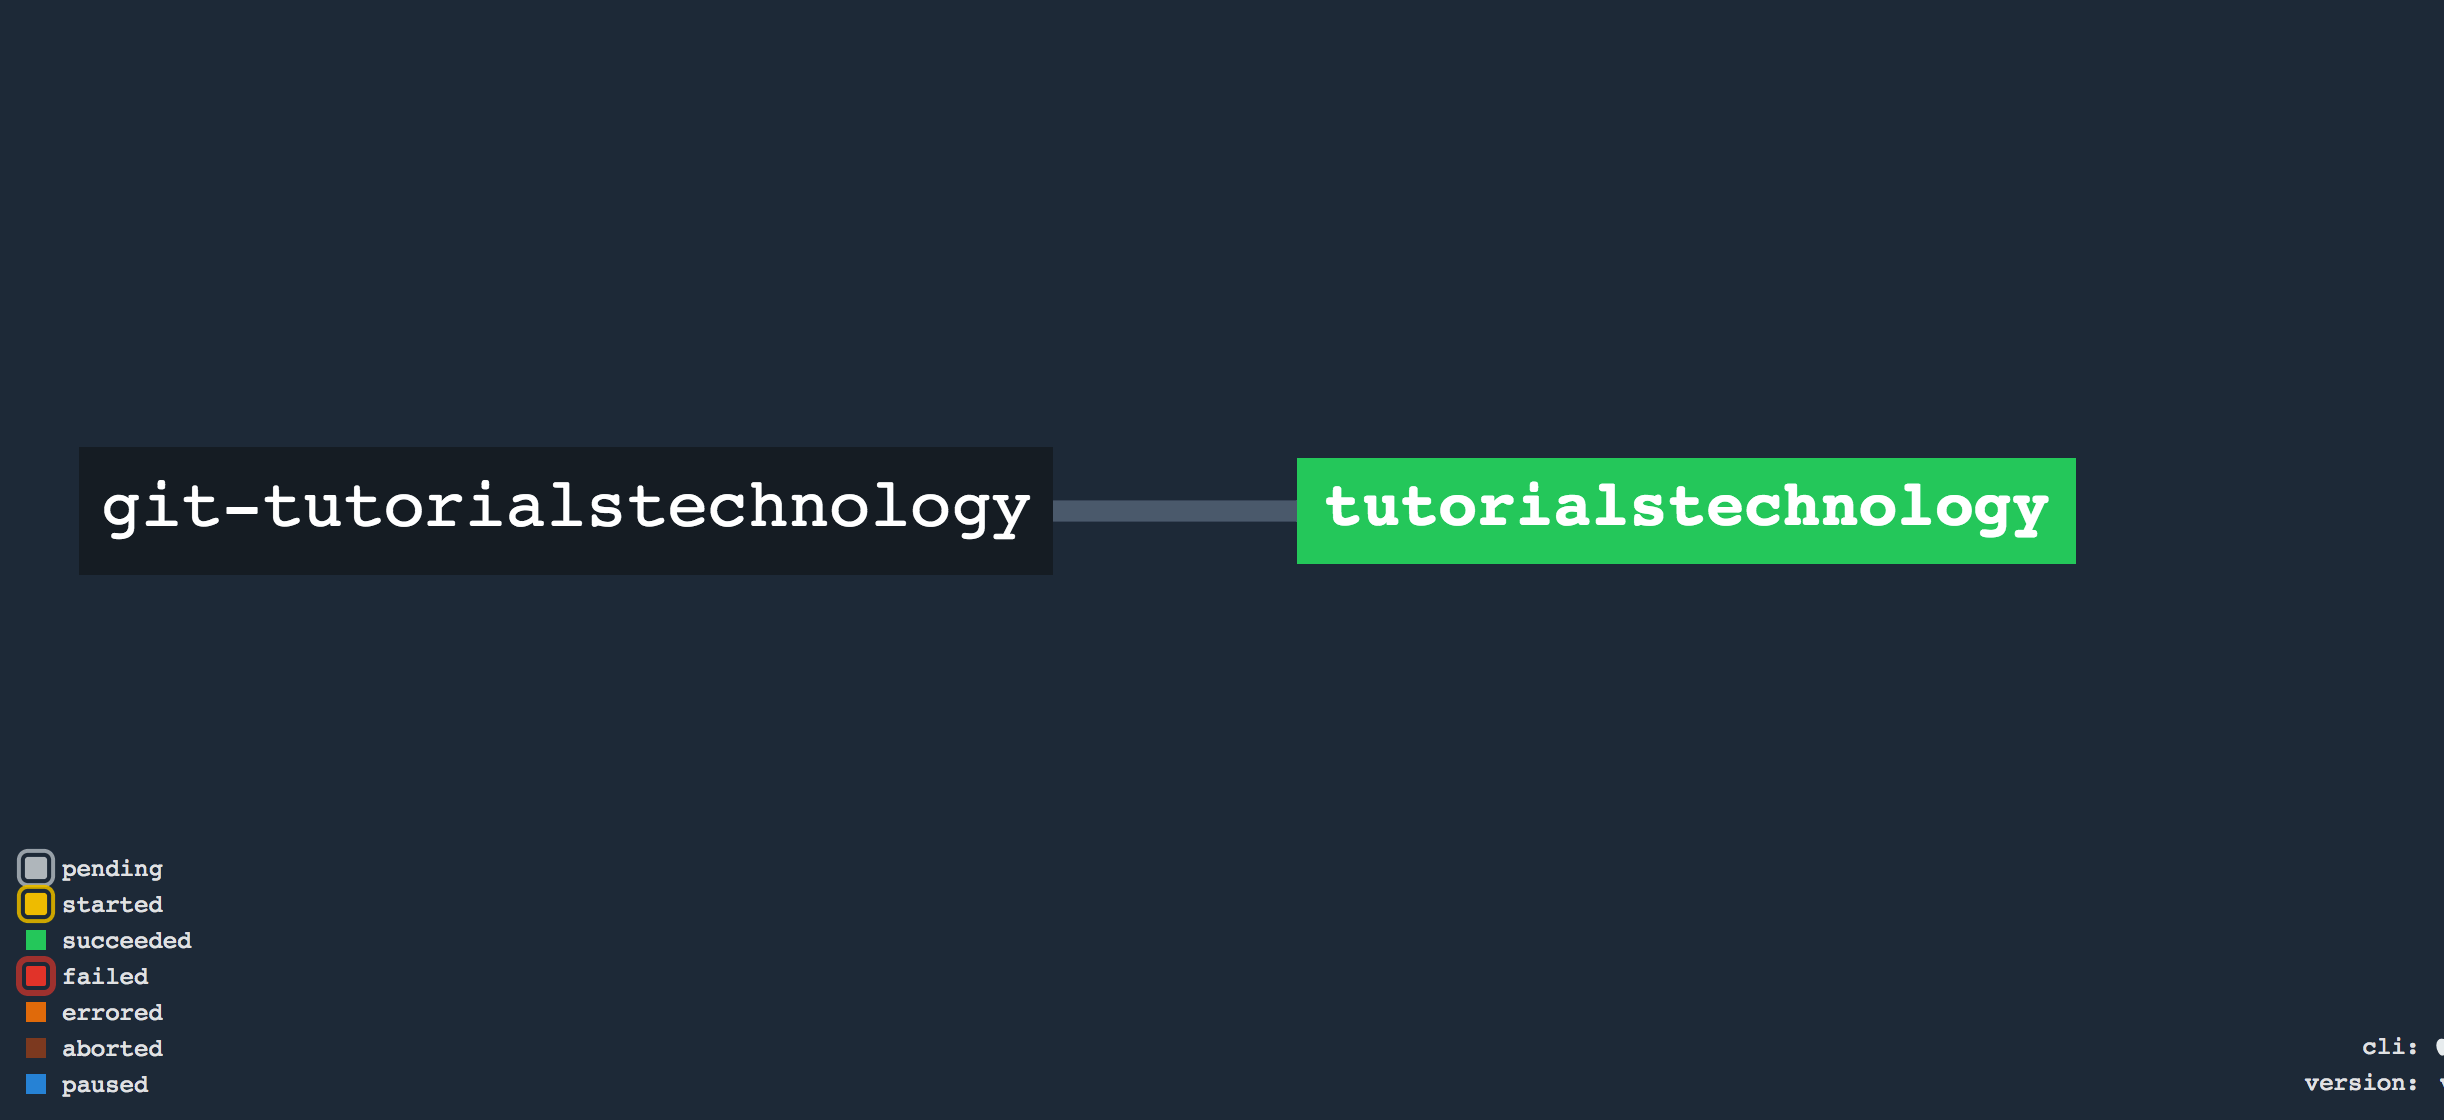
The final status of the pipeline should be similar to:
 .
.
Conclusion
Concourse is very flexible and most of the times it works as expected. It has a very good integration with docker and every build is very isolated. At the beggining we found a little confuse how the artifacts function. If there is no optimization the build could take a lot of time. We found a lot of plugins already made for concourse, for example there is one for npm caching that we didn't include in the tutorial.
Appendix
Check-resource returns: Please make sure you have the correct access rights and the repository exists.
To solve this issue add --garden-dns-server local_ip to your worker parameters. Note that the local_ip must be something different than 127.0.0.1.
Checking repository permissions
If you didn't follow this tutorial instructions check that the private_key field is correclty configured. We used the --var on the fly command to make it work.
If you receive the error fatal: Could not read from remote repository. when you try to get the resource, you can check it with:
./fly_linux -t tutorials check-resource -r tutorials-technology/git-tutorialstechnology
hijack backend error exit status 500 permission denied
The full error is:
hijack: Backend error: Exit status: 500, message: {"Type":"","Message":"runc exec: exit status 1: exec failed: container_linux.go:247: starting container process caused \"exec: \\\"sources/pipeline/install.sh\\\": permission denied\"\n","Handle":""}
To solve this remeber to do a chmod +x on .sh files on the pipelines directory.